
Is Your Tile Press Machine’s Cutter Suddenly “Going on Strike” and Not Moving Up or Down? Follow These Steps to Quickly Troubleshoot!
In the daily production process of metal forming equipment (tile forming machines), it is a relatively common fault for the cutter to suddenly become stuck, neither rising nor falling. Don’t panic when you encounter this problem. Follow the key inspection points below step by step to quickly identify the problem and restore production.
Step 1: Check the Solenoid Valve Indicator Lights and Valve Core Status
When the cutter stops rising or falling, the first critical point to check is the solenoid valve on the hydraulic station.
-
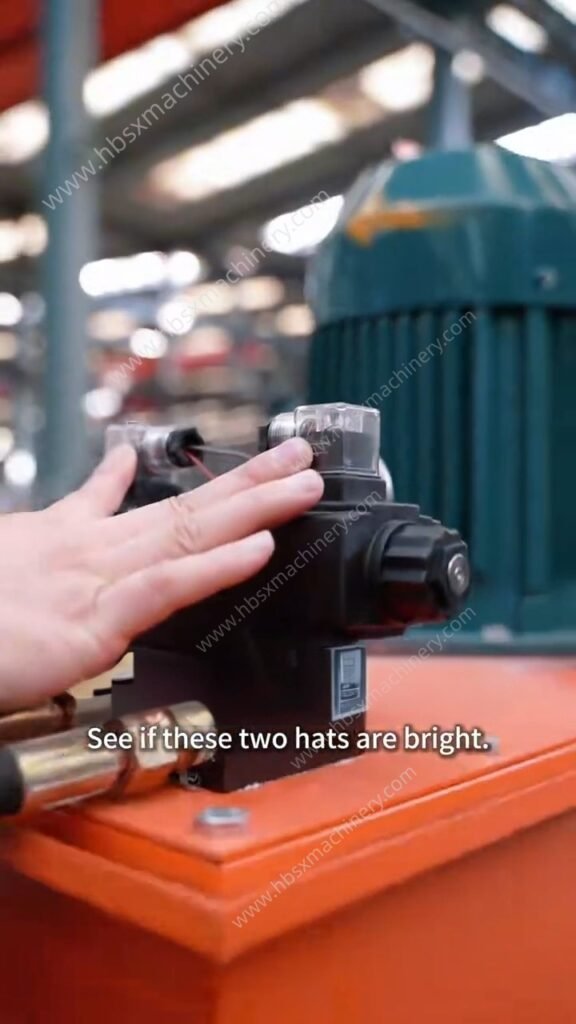
First, observe whether the two transparent “caps” (indicator lights) at both ends of the solenoid valve are lit.
-
Situation A: The indicator light is on. If one of the lights is on, it means the computer control cabinet has given an action signal. However, if the cutter still doesn’t rise or fall, it is highly likely that the valve core is stuck.
-
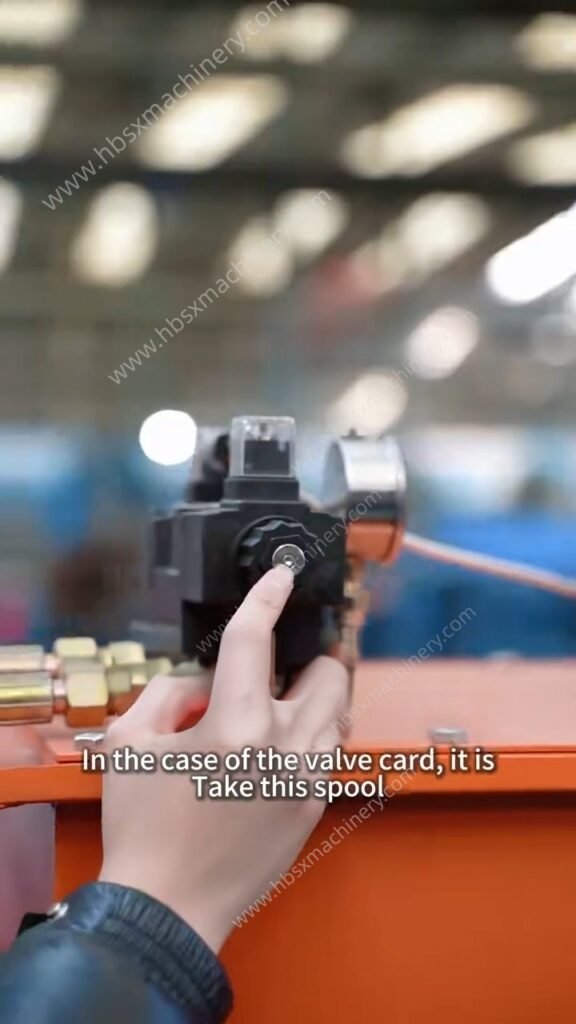
Solution for a stuck valve: Use a tool or your hand to forcefully push one end of the valve core inwards, then forcefully push the other end inwards. This physical force will help restore the smooth sliding of the stuck valve core.
![Screenshot_20260629_151056166_edit_357975429939012.jpg]
-
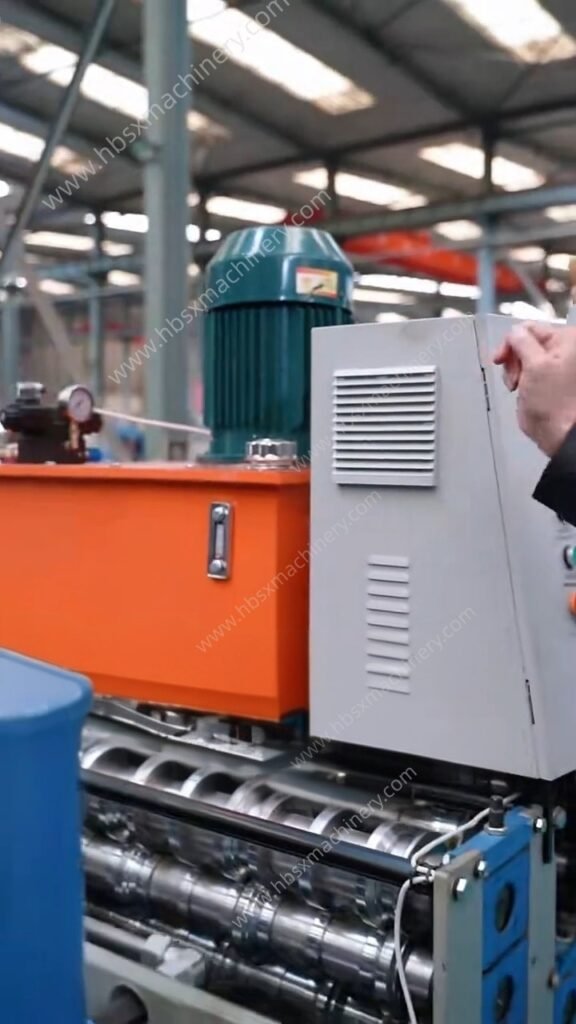
Troubleshooting motor rotation: If the problem persists after adjusting the valve core, look back at the hydraulic station motor to confirm that it is rotating in the correct direction.
Step 2: Troubleshoot the Wiring When the Indicator Light is Off
After ruling out the mechanical jamming problem from the first step, let’s look at another scenario—what if neither of the two lights on the solenoid valve is lit?
-
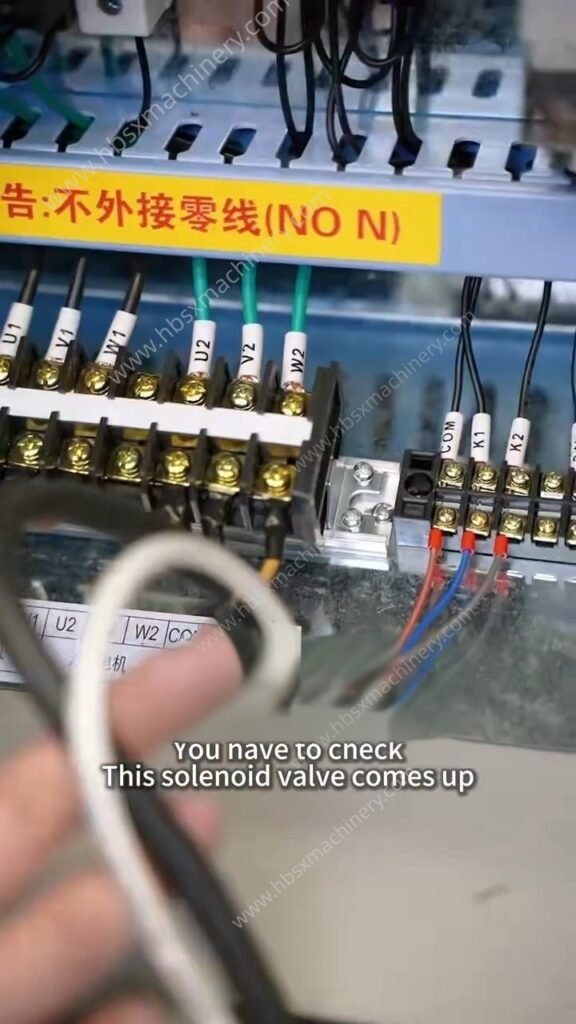
If the indicator lights are not on, it means the solenoid valve is not receiving an activation signal. We need to focus our inspection on the electrical wiring.
-
First, open the control cabinet or terminal block and check if the wires connecting the control system to the solenoid valves are broken. The continuity of the wiring is crucial; a single broken wire can paralyze the entire system.
Step 3: Inspect the Limit Switches (Travel Switches) and Their Circuitry
Besides the solenoid valve’s own wiring, the limit switch (travel switch) next to the cutter, which is responsible for providing position signals, is also of paramount importance.
-
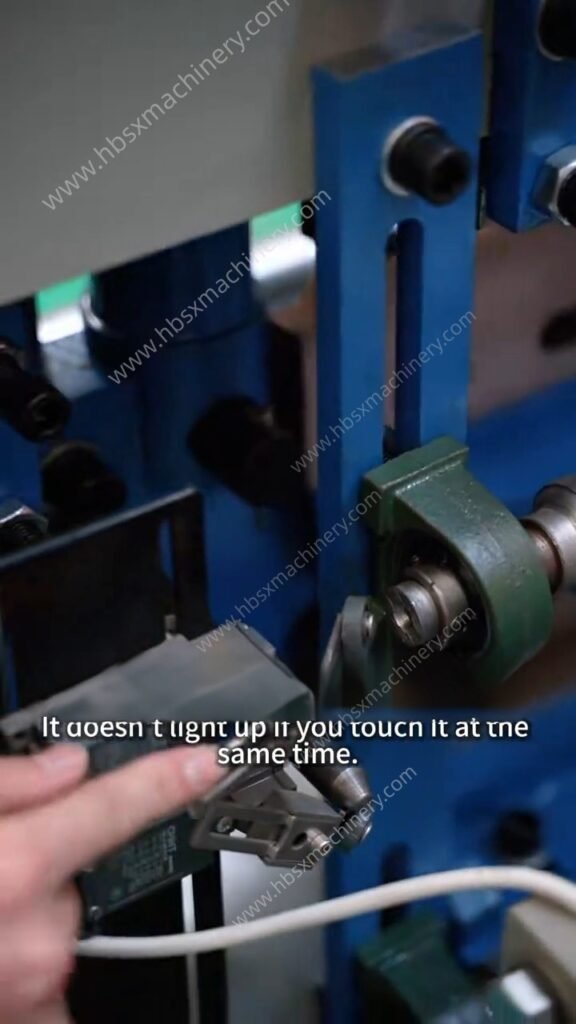
Check the status of the limit switches: Sometimes, due to mechanical errors or accidents, the upper and lower limit switches are touched at the same time. If this happens, the indicator light on the solenoid valve will not light up due to the system’s logic protection.
-
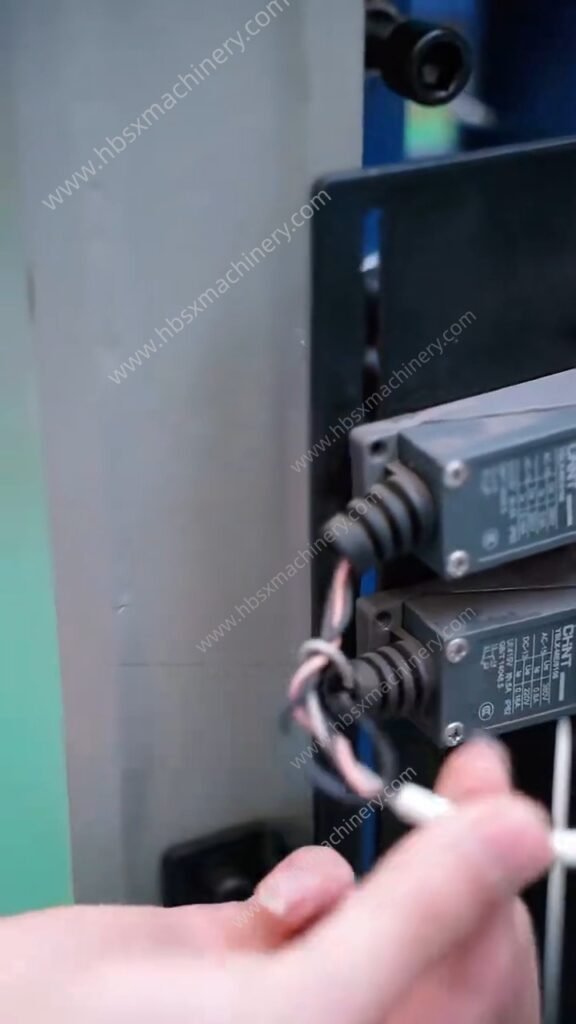
Check the switch wiring: After confirming the switch status, check the wiring at the end of the limit switch. Carefully check if the feedback wire of the limit switch is broken, or if the power supply wire of the solenoid valve is broken.
Final Troubleshooting: PLC Control System
If you have followed the steps above to rule out problems such as a stuck solenoid valve, improper motor rotation, and continuity issues with the limit switches and solenoid valves, yet the cutter still does not respond, there may be a problem or incorrect parameters inside the PLC mainboard (computer control system).
-
In this situation, it is recommended to contact the equipment manufacturer’s after-sales technical personnel or professional electrical engineers for further system testing.